Tech Committee Update – All About Jotform

Creating the form – making the easy changes

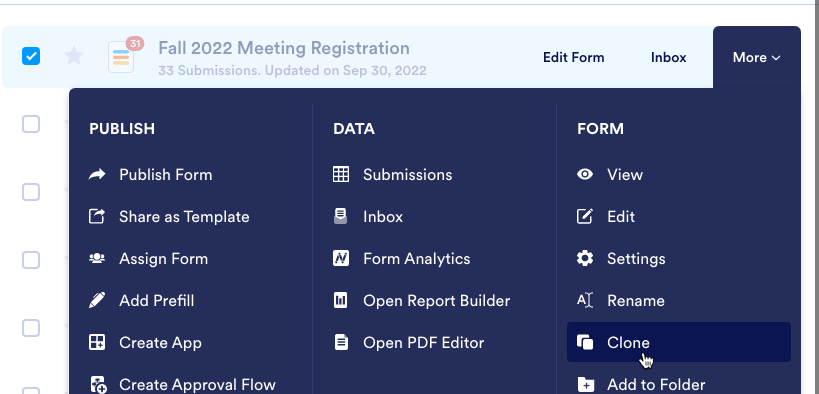
First, we find and copy (“Clone”) the last registration used:

Screenshot of Jotform website, Fall 2022 Meeting Registration, More menu, pointing to the "Clone" option.
Click “Clone”

I next use the “Build” tab to change the parts of the form we’re going to reuse. I’ll start by changing the name of the meeting:

Screenshot of Jotform website, Build Tab, changing the title of the form to "Title Meeting Registration."
Changing the title

I’ll update the price to $75 using the “Settings” icon and the “General” tab, changing the Field Label text:

Screenshot of Jotform website, phone number and number of registrants form fields on the left, tabs on the right, showing the General tab with the text of the Field Label reading "Number of Registrants: ($75 each)".
Using the Field Label to update the price

I need to update the options for the lunch, again under the “Settings” icon, but now under the “Options” tab.  Whatever I type there will appear as the lunch choices:

Screenshot of Jotform website, showing the registrants' name and "Do you have preferences for the meeting lunch" form fields on the left, tabs on the right, showing the options tab with the options list for the lunch field: "Vegan", "Gluten Free", and "I don't have any preferences."
Add your choices under “Options”

I don’t have to worry about some parts of the form.  For example, I can keep standard fields like “name” and “email” as they are.  And I don’t have to figure out how to connect to LLNE’s PayPal account.  That feature worked in the previous form, so I don’t need to update it.  

Changing the Meeting Settings

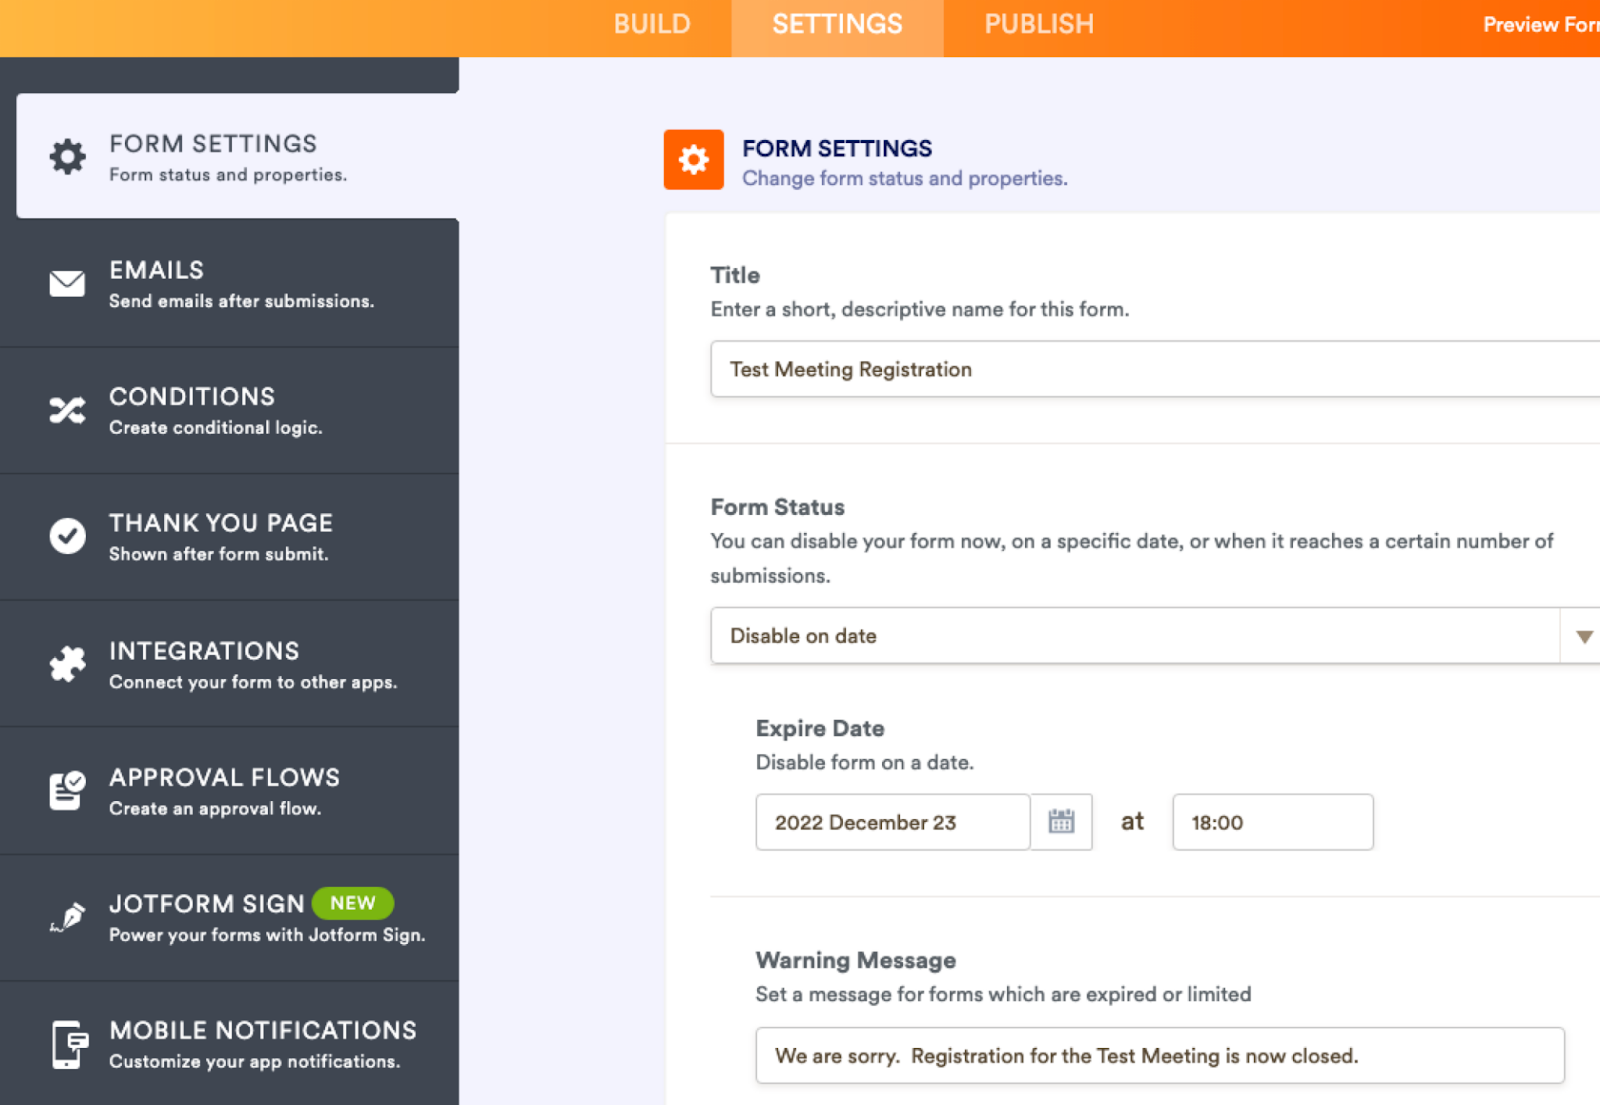
Next, I’ll update the meeting settings.  I’ll need to make sure that registration ends on a set day and time.   I’ll also need to update the “Warning Message” to reflect the name of the current meeting (here, “Test Meeting”).

Screenshot of Jotform website, showing the "settings" tab to the right of the "build" tab.  Form Settings are selected in the left-hand navigation.  The settings include "Title" ("Test Meeting Registration" and "Form Status"/"Disable on Date", with "Expire Date" set to 2022 December 23 at 18:00.  There is also a "Warning Message" to be sent fter the expiration date - "We are sorry.  Registration for Test Meeting is now closed."
Use “Disable on date” to close the form automatically

Setting up the hard stuff

A few parts of the form are a little tricky to set up.

Setting up the price

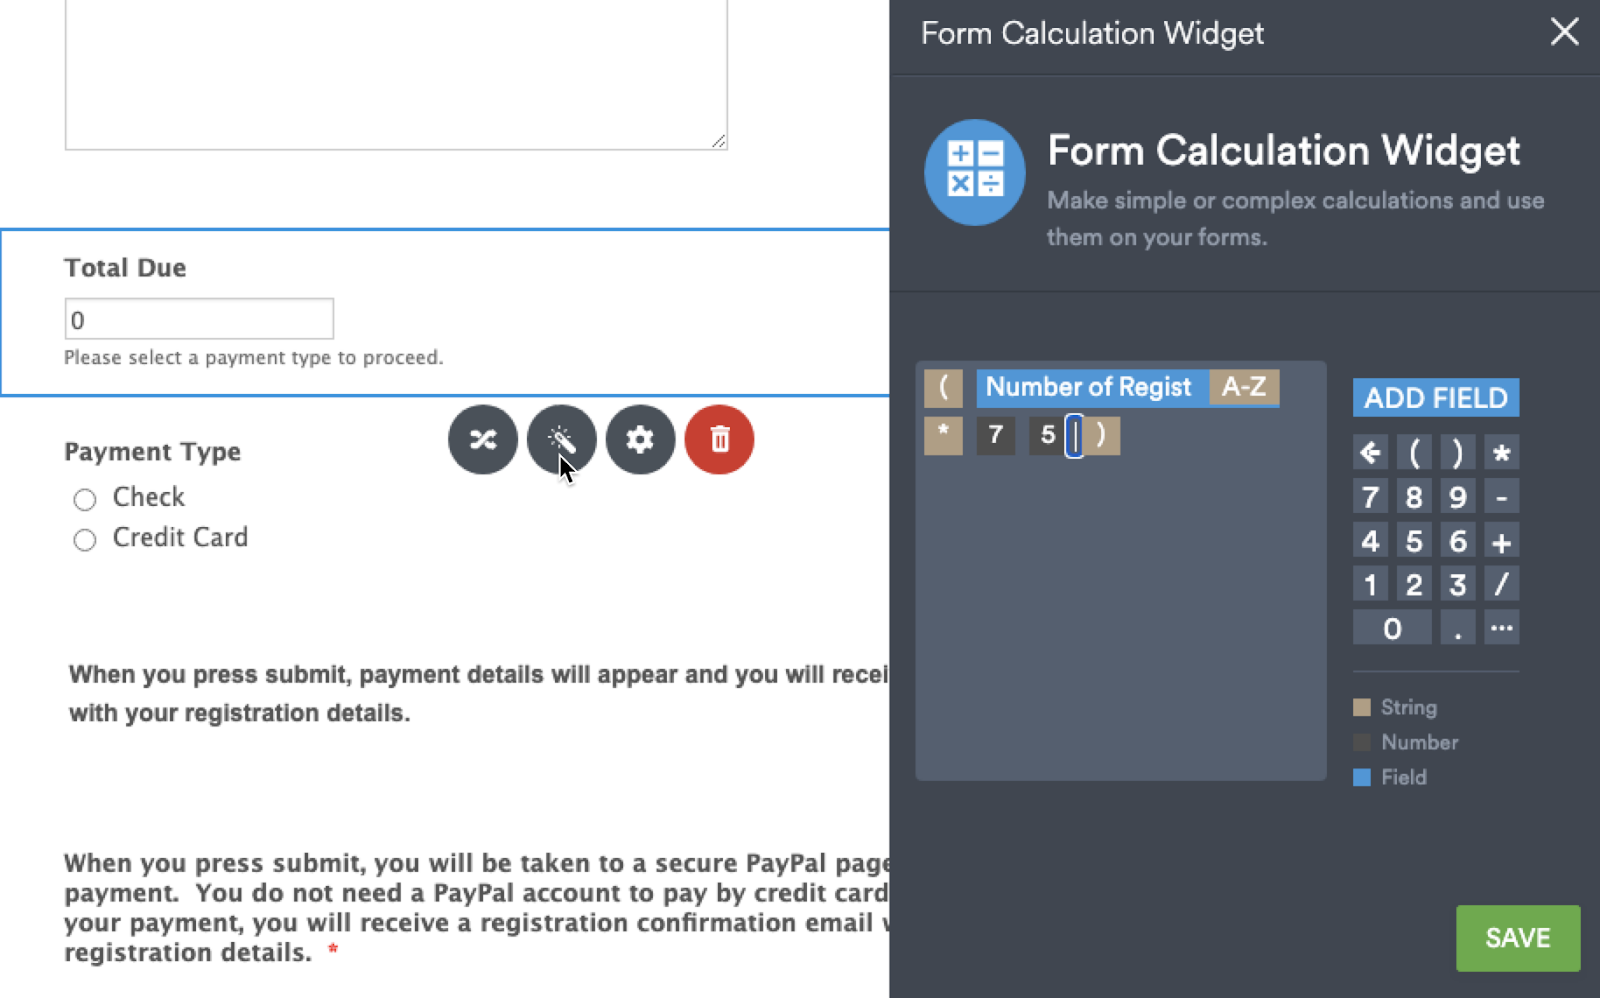
If I change the amount of the registration, I’ll have to update the price.  That feature is a little hard to find.  I’ll want to modify the “Total Due” tab. I first click the “widget’ icon.  Then I make the changes in the “Form Calculation Widget”.  Then Save!

Screenshot of Jotform website, showing the "Total Due" and "Payment type" fields on the left.  The "Form Calculation Widget attached to "Total due" is on the right.  There is a field for entering in the formula "(Number of Regist A-Z * 75) using the "add field" tools.  There is a green save button in the bottom right corner of the widget.
Update the formula and click “save”

Setting up the email to the organizers

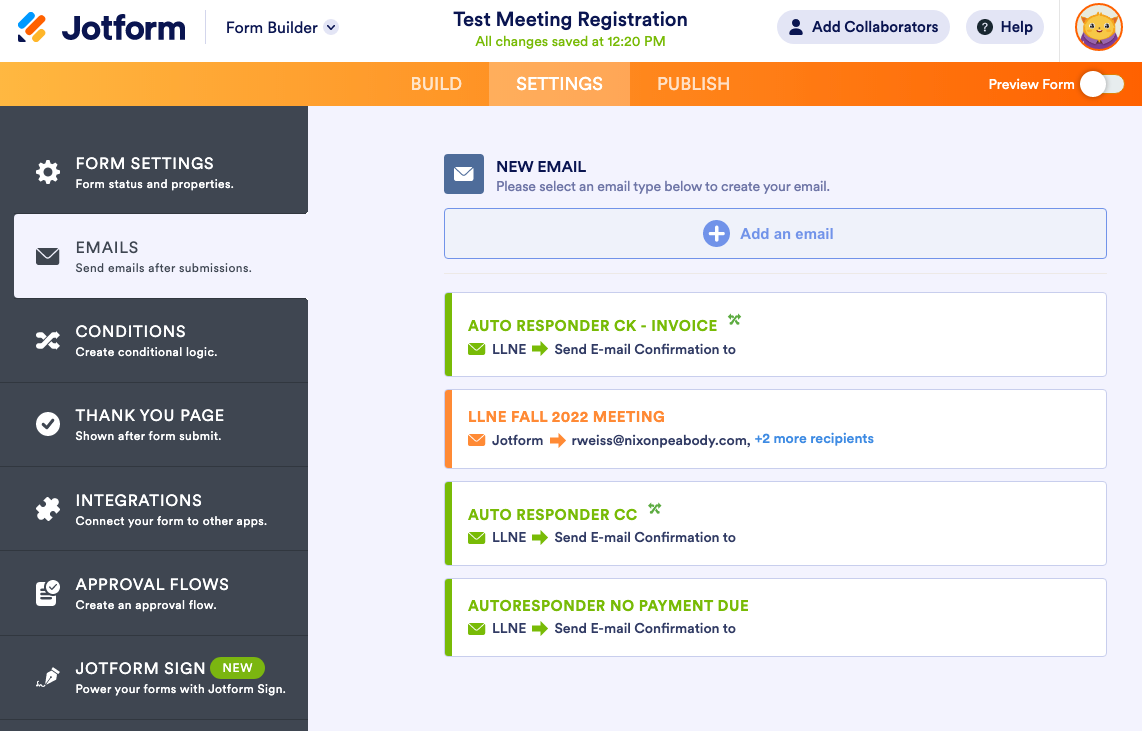
Each registration is emailed to the event organizers.  Those emails are handled under the “Emails” tab.  I’ll be changing the orange email, the one still set up for the Fall 2022 meeting.

Screenshot of Jotform website, showing the settings tab, left-hand navigation is on emails.  To the right are emails settings users can edit, including one that says "LLNE Fall 2022 Meeting."
Click on “LLNE Fall 2022 Meeting” to update the emails the organizers receive

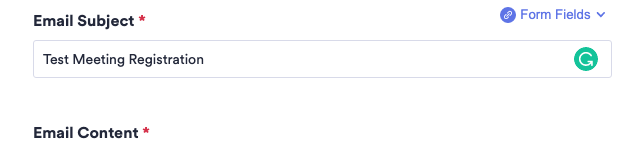
I can easily change the Email Subject for the new meeting:

Screenshot of Jotform website, showing the "Email subject" field, now changed to "Test Meeting Registration."

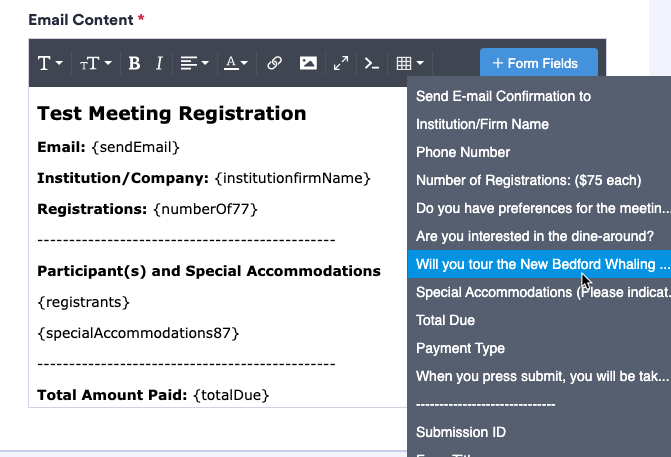
I’ll want to make sure the organizers get the information from the form.  If there is a new element I added (e.g. “Will you be going to the museum?”), I’ll want to make sure it’s in the email by adding the information from “+ Form Fields”, and selecting the field I want to add:

Screenshot of Jotform website, showing the Test Meeting Registration email on the right.  The email includes the different fields that will be collected and sent directly to the organizer.  The "Form Fields' dialog box is open on the right, wiht the curser pointing to "Will you tour the New Bedford Whaling..." question, which will be added to the organizer email.
Select the fields the organizers need

Next, I’ll want to make sure the email is going to the right people.  I can add and remove recipients in the “Recipients” tab.

Screenshot of Jotform website, "Recipients" tab selected.  The "Recipient Email" field is highlighted, which includes the blocked out email addresses of three meeting organizers.
Changing recipients


Final steps

Now, I’ll copy the link, send it to the organizers, and post it on the LLNE website:

Screenshot of Jotform website, showing the Publish tab to the right of the "Settings' tab.  In the left-hand navigation, "Quick Share" is selected.  The right information box includes a link to share, and a green box to "copy link".
Copy the link and share it anywhere

The organizers send the link to all our members, and we’re all set for our latest meeting!

Leave a Reply

Your email address will not be published. Required fields are marked *